How to Shrink a Leather Wallet?
You may not want to face it, but it’s staring you in the face. Maybe your wallet is getting too bulky, and your pockets are getting tight. That leather wallet of yours has likely been your companion for years. It’s been there through the good and the bad—it was even durable enough to last your wildest nights out on the town. Not to mention, it was quite an investment. But, over time, it’s lost its original luster. The initial tightness that came alongside the material is long gone.
That said, everyone who has had a leather wallet for quite some time has come to a crossroads when it begins to stretch out and grow—and not in a good way. People often find that tossing out the wallet and starting fresh with a new pal is the only way to go. Fortunately, that’s not the case.
Although you might have noticed your wallet has begun to sag in areas you never thought possible or stretched too much to securely grip your essentials, there is a solution to saving your trusty accessory—shrinking a leather wallet is possible. So, before you throw your pal in the bin, we’ll uncover some advantageous steps that you can take to potentially shrink your leather wallet and make it good as new.
How to Shrink a Leather Wallet
A leather wallet can be a great way to slim down and simplify your life, but it’s crucial to know how to maintain it, so it doesn’t stretch over time. Luckily, if your wallet has already reached what seems to be the point of no return, there is still a chance.
Whether your wallet has been around for ages, or you recently purchased some leather and you’re looking to prevent stretching, we’ve got the scoop on how to shrink your leather wallet so that it can fit comfortably in any size pocket while still containing all your essentials.
This super-simple method for shrinking leather can also be used on various other leather accessories—including shoes and bags. So, without further ado, let’s jump in. Disclaimer: We are not held responsible for any unintentional damage caused by following the below steps. Attempting to change or manipulate your wallet is a risky venture and can cause irreparable damage to your wallet if done incorrectly.
Materials you’ll need…
Before going over the steps for shrinking your leather, it’s beneficial to outline the tools and materials you’ll need to get the job done right. Here is a list of the essentials:
- A medium-sized bowl or small container
- Lukewarm water
- Hairdryer or direct sunlight
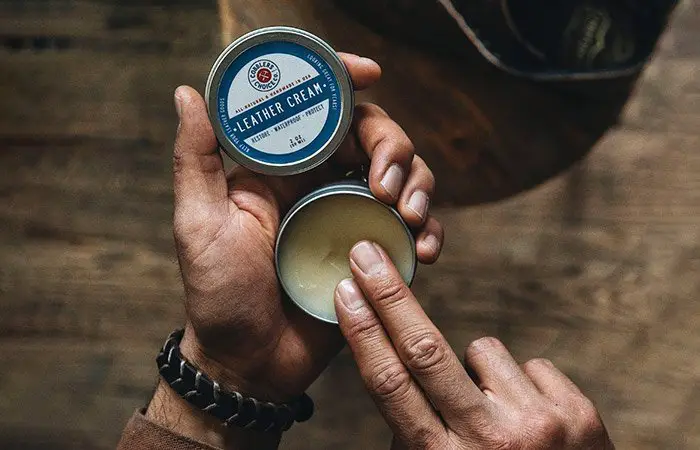
- Leather conditioner
Step 1: Empty the Compartments
You’ll need a completely empty wallet to ensure the method works well, and avoid leaving your freshly shrunken wallet lumpy and you just as frustrated. Empty all the pockets of cash, coins, cards, and everything else you keep handy and set it somewhere safely aside. Once empty, you’re free to start the shrinking process!
Step 2: Soak the Wallet
It may sound odd—and might even worry you at first—but you’re going to need to drench your leather wallet in water.
Fill your bowl or container with lukewarm water; make sure there is enough water to submerge the entire wallet. Sink the wallet, making sure that every inch of the leather is underwater. For bi- and tri-folds, don’t worry about opening them. You can leave your wallet as is; it will still successfully shrink either way.
For average-sized wallets, you’re generally safe to let it soak for about ten minutes. However, if your wallet needs significant shrinking or it’s considerably larger than most, allow it to soak for a bit longer. Also, if your wallet doesn’t need much shrinking—maybe you’re doing this to prevent stretching—a few minutes will usually do the trick.
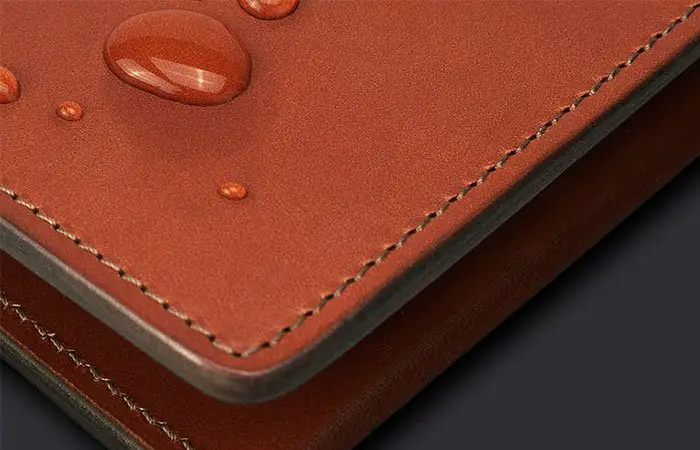
Step 3: Lay it Out to Dry
Once the wallet has soaked for a sufficient length of time, you can remove it from the water and lay it out to dry. The trick to shrinking hides out in the drying time—you’ll need a large amount of direct sunlight to allow it to dry properly. The wallet will need an even amount of sunlight throughout to ensure a smooth and clean result. Lay the wallet on a flat surface and open it up if need be.
If you don’t have enough sunlight to allow the wallet to dry, you can use a hairdryer to speed up the process. It’s important to be careful and not overheat the leather, so set the dryer on low heat and keep it at least two feet away from the wallet as you dry it.
Step 4: Condition the Leather
After the leather has completely dried, work a generous amount of leather conditioner into the surface. Be careful not to overdo it, and smooth it out gently, to avoid cracks and wrinkles in the leather. To keep the wallet in good condition for years to come, apply a leather conditioner at least twice a year to keep it perfectly soft yet firm.
