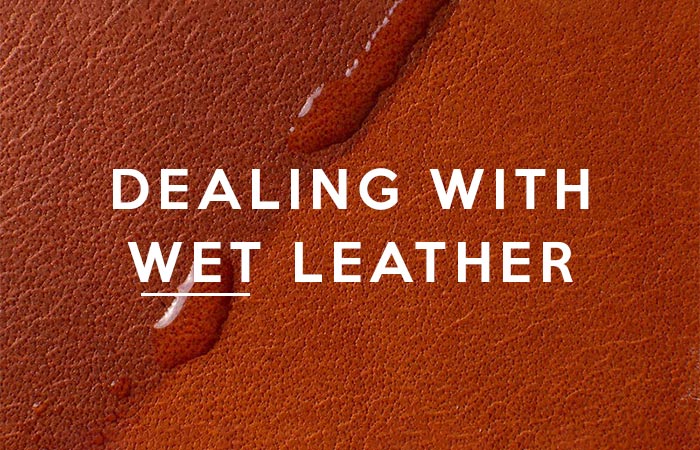
How to Handle Leather If It Gets Wet
If you own leather of any kind, it’s understandable that you might have spent a pretty penny on it. Leather is known to be one of the toughest materials, which is only one of the characteristics that makes it so valuable. However, it certainly doesn’t pair well with liquids. So, what do you do when you get your most expensive wallet or other leather items? Luckily, there are a few steps you can take to help save your favorite piece of leather after it gets wet.
A quick disclaimer before we talk about the different aspects and understanding wet leather. Depending on the individual circumstances of your wallet, other leather items, the process you use, and how you do it, can achieve wildly different and varying results. Please be confident that you have done your own, and enough research before you follow the steps on this page.
What Type of Leather is it?
Before jumping into what we need to do to repair your leather, we first need to consider a few attributes to determine the best way to go about things.
There are two types of leather: water-based leather and oil-based leather. Water-based leathers include vegetable-tanned leather, and they are easier to manage after coming in contact with water. Oil-based leathers, such as distressed leather, are much more of a pressing case when wet.
If you’re not sure what type of leather your item is, it’s essential to find out so you can take the correct measures. Treating one like you would the other could cause more damage. It’s possible to contact the manufacturer to find out what kind of leather you have.
Although the following information will help repair your leather, it’s beneficial to town down any expectations a little bit before attempting to repair water damage on leather. These tips are beneficial for repairing water damage; however, they may not completely reverse it.
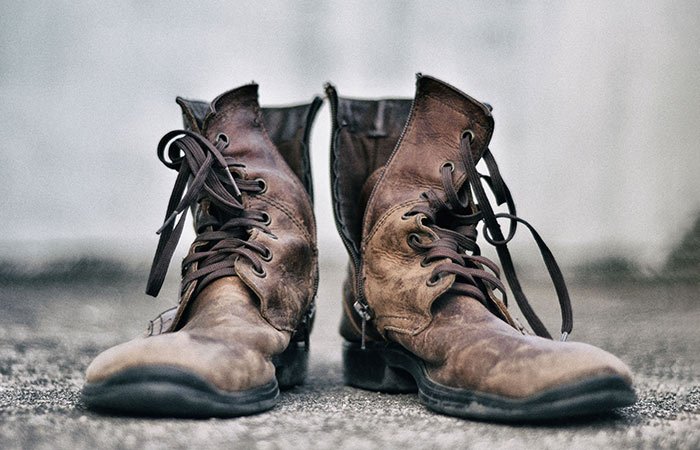
Repairing Water-Based Leather
Water-based leathers wear much better than oil-based when wet. Nonetheless, there are still important measures to take to ensure that water-based leather can be preserved. Being meticulous rather than careless is vital for repairing your leather.
Dry the Leather
The first step to take when repairing water damage is to dry your item off as best as possible. Wipe any water off the surface and from inside the piece, and then let the remainder dry on its own until it reaches a damp—not wet—point. Avoid using any unnatural heat, such as a blow-dryer, as it will only damage the leather further and ultimately make jerky.
Hang items like jackets on padded hangers and hats on racks that provide sufficient airflow. For bags and shoes, stuff the inside pockets and soles with absorbent material, such as newspaper, and allow it to soak up additional moisture while maintaining the item’s shape. Leather wallets should be left to dry in a closed position. Although the leather is soft when wet, it will dry to become stiff. Let items dry in the stance and orientation that you’d prefer it to be in once it’s dry.
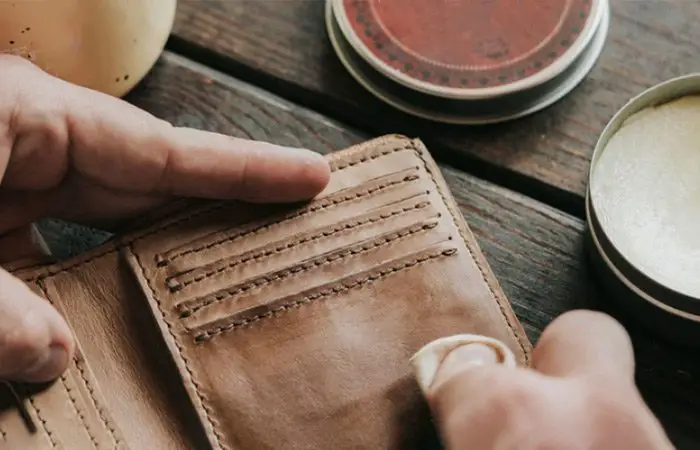
Use Conditioner
Once your leather has reached a dampened point, apply a thick coat of leather conditioner to the surface. The conditioner will replace any natural oils washed away by the water, ultimately allowing the leather to restore its texture, health, and durability as it had when brand new. In case of emergencies, it’s ideal to have a leather conditioner on hand at all times.
Protect for Future Accidents
Once the conditioner has soaked into the leather, check for any dry spots and rub more in as needed. After it’s completely infused, buff your item with a mixture of leather conditioner and leather cleaner (in a 2:1 ratio) using a lint-free cloth. It’s most beneficial to spread out your conditioning jobs between a few hours, if not days. Once your leather has completely dried and looks as if the damage has disappeared from the surface, your item should be good as new!
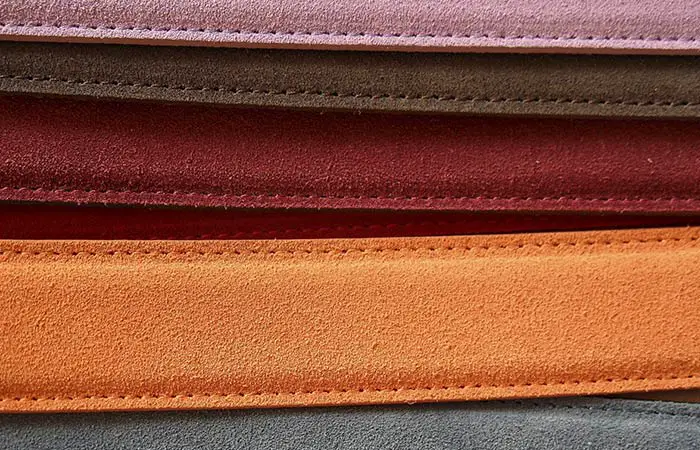
Repairing Oil-Based Leather
Saving oil-based leather from water damage is a much different process. Oil-based leather is typically less resilient to water than water-based leather. However, if you’ve had your leather for quite some time, it will have formed a patina, giving it a natural barrier against liquid. But only for a short time.
You’ll have to first consider the circumstances and how wet your leather is. If you merely spilled water on your leather, it can be easily wiped off and moved past without damage. On the contrary, completely submerging the wallet in water will require more extensive care.
Dry the Leather
Although this step is similar to repairing water-based leather, there is a primary difference between the two. Oil-based leathers need to be completely dried before continuing with further repairs. To assure you restore your leather as best as possible, make positive that all moisture is evaporated before moving forward.
Once again, do not use any unnatural heat like a blow-dryer on your oil-based leather. It’s important to avoid speeding up the drying process. Let it set in the sun for a few days if needed—it could take longer but allow it to take its course.
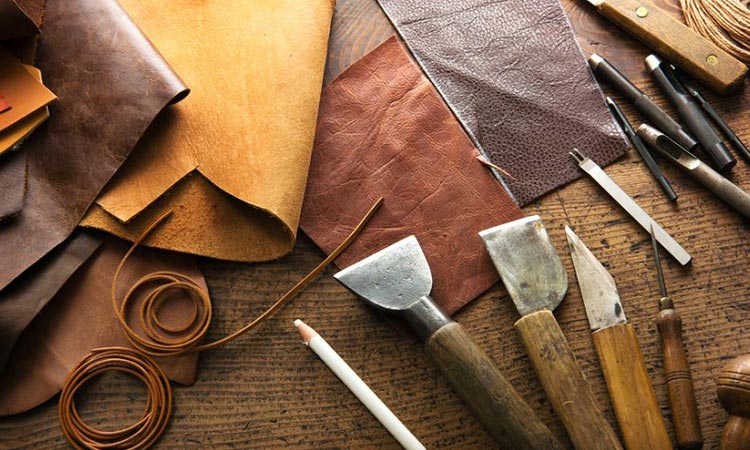
Condition with Oil
Oil-based leather is best conditioned using its favorite ingredient: oil. Depending on where you live, different oils are more beneficial. In warmer climates, you can employ coconut oil. In more temperate areas, you can apply olive oil. Once the leather is 100 percent dried, apply a small amount of oil to the surface and carefully buff it into the surface using small circles. Do so sparingly and over the course of a few days. Try to avoid using too much oil at once as it can become a goopy mess.
Waterproof Your Leather
The most crucial step to the water damage repair process is to protect your leather from any future accidents with liquids. There are simple ways to create a water-resistant leather surface to ensure protection.
One of the most useful techniques for waterproofing leather is to use beeswax cream. With real beeswax and extra virgin olive oil, you can easily eat the two up inside of a bowl over boiling water and allow them to melt. Mix the two and continue to stir as the mixture cools—this should take about 30 minutes. Once combined and sufficiently cooled, take a small amount and apply it to the leather; spot check first to be certain it won’t damage the material. Thoroughly buff the beeswax mixture in and reapply multiple times to build a nice coating on the leather.
Code 118 Wallet Review
Code 118 Wallet: From its sleek design to its innovative pop-up mechanism, we’ve got you covered in our detailed review.
Simpl Wallet Review
We check out another Micro Brand, the Simpl Wallet, and their generic mass-produced wallet that isn’t worth your money or attention.
RE:FORM Wallet Review
We provide our detailed review & overview of the latest innovation in men’s wallets – The RE:FORM Wallet. How well does it fair?
