How to Repair Cracked Leather
Whether it’s a genuine leather wallet or your favorite pair of full-grain leather boots, the last thing you want is for the beloved material to scratch—or worse, crack. Let’s face it: you spent your hard-earned money on that leather. There’s nothing more terrifying than the crack that begins to spread and ultimately ruin your favorite accessory. That said, it’s natural to wonder whether there are any measures you can take when tough times come for your leather.
Good news: there are. Cracking is ones of the more common problems people run into with leather goods. Fortunately, any sort of restoration will be beneficial for your leather, regardless of how significant the damage is.
To help you on your journey toward repairing damaged leather–or merely preventing damage from happening in the future–we’ll dive deep into the details of cracked leather, including the ins and outs of why it happens to begin with. Let’s just straight in!
Why Does Leather Crack?
Before we can step into the realm of fixing cracked leather, it’s important to understand the root of the issue, so you can potentially prevent it from happening again.
Though you might have thought that your leather would only get better with age, like any other natural material, it can only handle so much wear and tear over time. Leather is similar to your own skin—without enough water and moisture, it can dry out and leave flaky and dry patches. Animal skin—your favorite leather accessory—is no different.
While the hide lived on the animal’s back, it had natural oils to moisturize and maintain it. But, once the hide transforms into the leather goods you know and love today, the water and oils were replaced by tanning agents. While quality leather is well-manufactured and cared for before purchasing, without the proper care, your leather can become dry and end up cracking in the long run.
Why Does Leather Crack?
Before we can step into the realm of fixing cracked leather, it’s important to understand the root of the issue, so you can potentially prevent it from happening again.
Though you might have thought that your leather would only get better with age, like any other natural material, it can only handle so much wear and tear over time. Leather is similar to your own skin—without enough water and moisture, it can dry out and leave flaky and dry patches. Animal skin—your favorite leather accessory—is no different.
While the hide lived on the animal’s back, it had natural oils to moisturize and maintain it. But, once the hide transforms into the leather goods you know and love today, the water and oils were replaced by tanning agents. While quality leather is well-manufactured and cared for before purchasing, without the proper care, your leather can become dry and end up cracking in the long run.
Let’s have a deeper look into the science behind it:
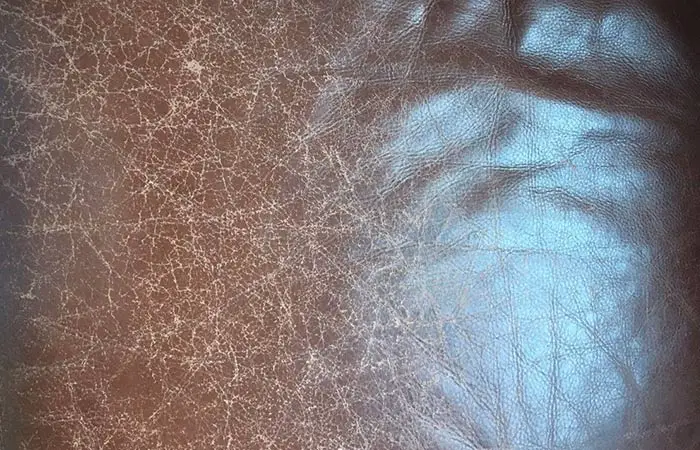
Leather hide consists of fibers that are closely packed together to form a microscopically interwoven material. In the deeper layers of the leather, the fibers are loosely knit; they get tighter as they make their way to the surface. If not consistently nourished, the tightly woven fibers can dry out as they continually chafe and begin to lose their flexibility. This, in turn, causes the fibers to crack, leaving damage.
How to Fix Cracked Leather
Although repair success can differ depending on the extent of the damage, restoring your leather’s patina is possible with some simple care. It’s essential to acknowledge the fact that cracked leather cannot, unfortunately, be uncracked. When leather cracks, the fibers merely broke—it’s technically impossible to mend them back together.
However, it is possible to strengthen the intact fibers surrounding the crack and allow the damage to blend naturally into the remainder of the patina. To give you an idea of how to ensure your leather stays good as new, we’ll cover some tips on fixing cracks and scratches, both big and small.
Fixing Small Cracks/Scratches
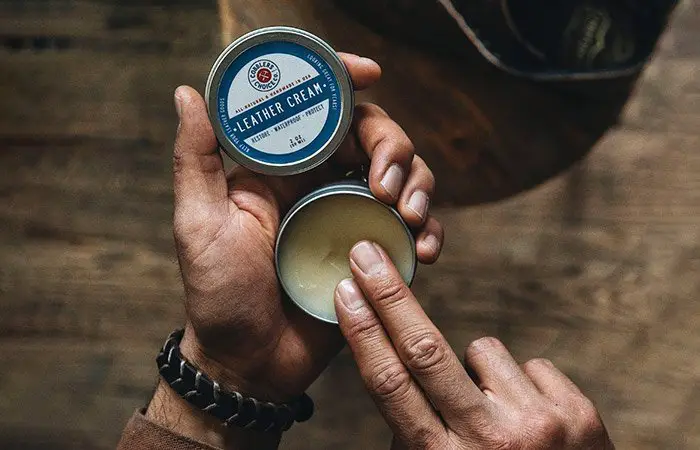
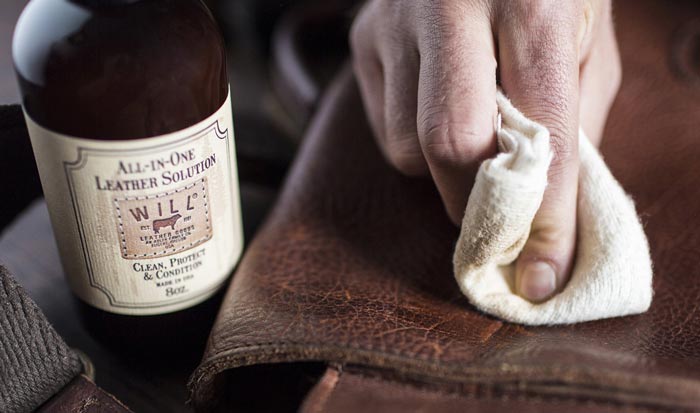
Light surface scratches and small cracks in leather are the easiest to manage. Shoot for a quality leather conditioner, and you’re good to go. The conditioner should not only condition your leather but also strengthen the fibers and allow the scar to blend in, making it virtually invisible.
Here’s everything you’ll need:
- High-quality leather conditioner or cream
- Mild, gentle soap
- A dry, soft cloth
- A fine-bristled brush, such as a toothbrush
- A sponge or spoon (optional)
Here’s how to fix it:
- Clean
Before jumping in headfirst, test a small amount of soap on a hidden section of the leather. If all seems well, take the dry cloth, and brush off any debris from the leather. Then, fully clean the crack using the fine-bristled brush and some soap. You’ll want the leather to become flexible and soft.
- Condition
After cleaning, smooth some conditioner or cream all over the crack. You can use a finger, spoon, or sponge to layer the conditioner gently. Smooth the conditioner amongst the damage until it is less noticeable or less deep. Then, wipe off the excess and allow the leather to air-dry overnight.
- Repeat
If the leather seems to still be dry, repeat these steps. However, be careful not to over-condition as it can leave the leather waxy and slippery. For future maintenance, condition once a month for best results.
Fixing Deep Cracks
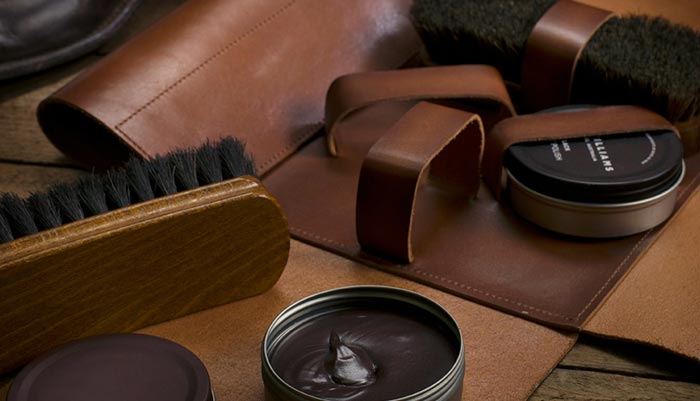
Deeper leather cracks can be more difficult to repair, and may even require leather crack filler, coloring, and nourishing methods to do the trick. A conditioner alone might not do much to help, but a little effort can make all the difference.
Here are the necessities:
- Mild soap or leather cleaner
- 600-grit sandpaper
- A palette knife
- High-quality leather filler
- A cloth or sponge
- Clean
Use the soap or cleaner and a cloth to gently clean the leather and the crack, removing dirt and debris. Don’t forget to test the soap or cleaner before use. Wipe off the moisture and allow the leather to air-dry overnight.
- Smooth & Fill
Smooth out the crack using the super-fine sandpaper and apply gentle pressure to wear the edges down. Stop sanding when you reach a smooth look, then wipe off the surface with a dry cloth. Spread filler over the cracks and brush in the paste to fill the crack in entirely.
- Remove Excess & Air Dry
Use the palette knife to gently scrape any excess filler off until there is no overspill. Then, allow the filler to dry in a well-ventilated room for at least six hours.
If the filler doesn’t blend seamlessly, some leather dye may be in order. Once the filler has dried, smooth it out with the sandpaper and apply a thin layer of dye that is closest to the color of your leather. Distribute the dye evenly into the cracks, and dry for two minutes with a hairdryer on low. Repeat as necessary. Once it looks well-blended, use a leather sealer to protect the dye and prevent further damage.